Overview
The “Accepted” page allows users to view, filter, and manage a list of accepted transactions. This guide provides step-by-step instructions on how to utilize the features of this page effectively.
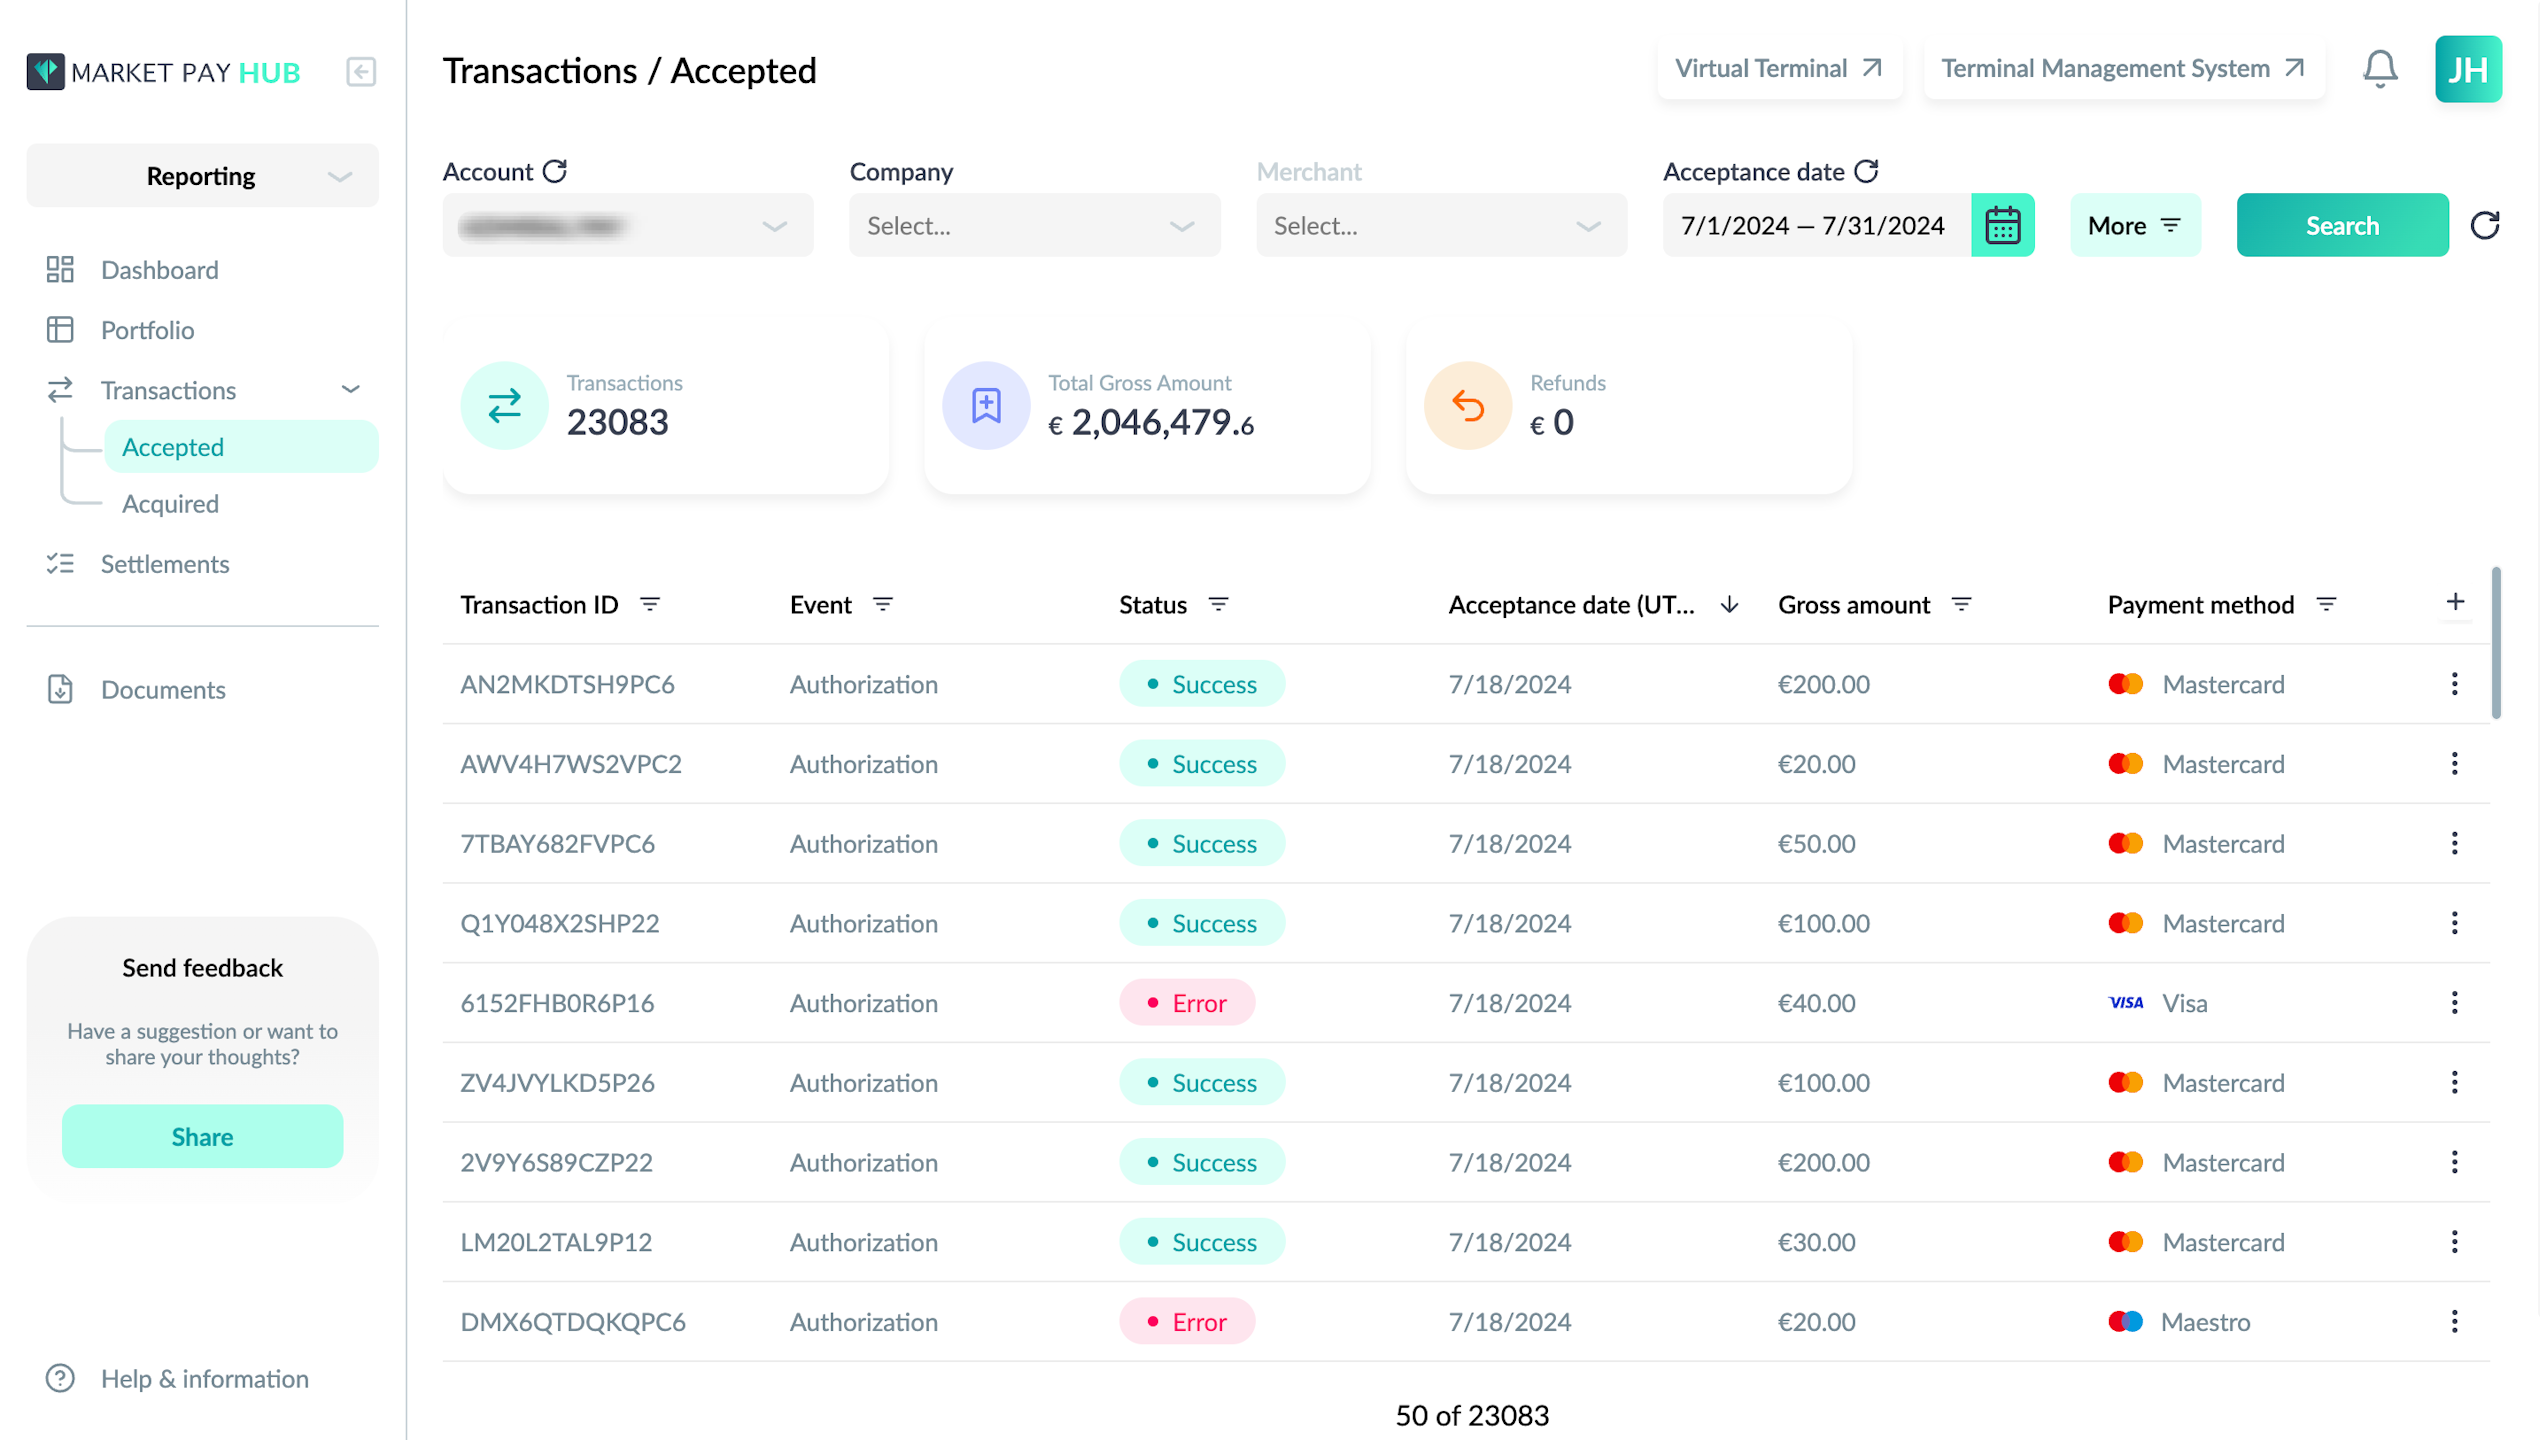
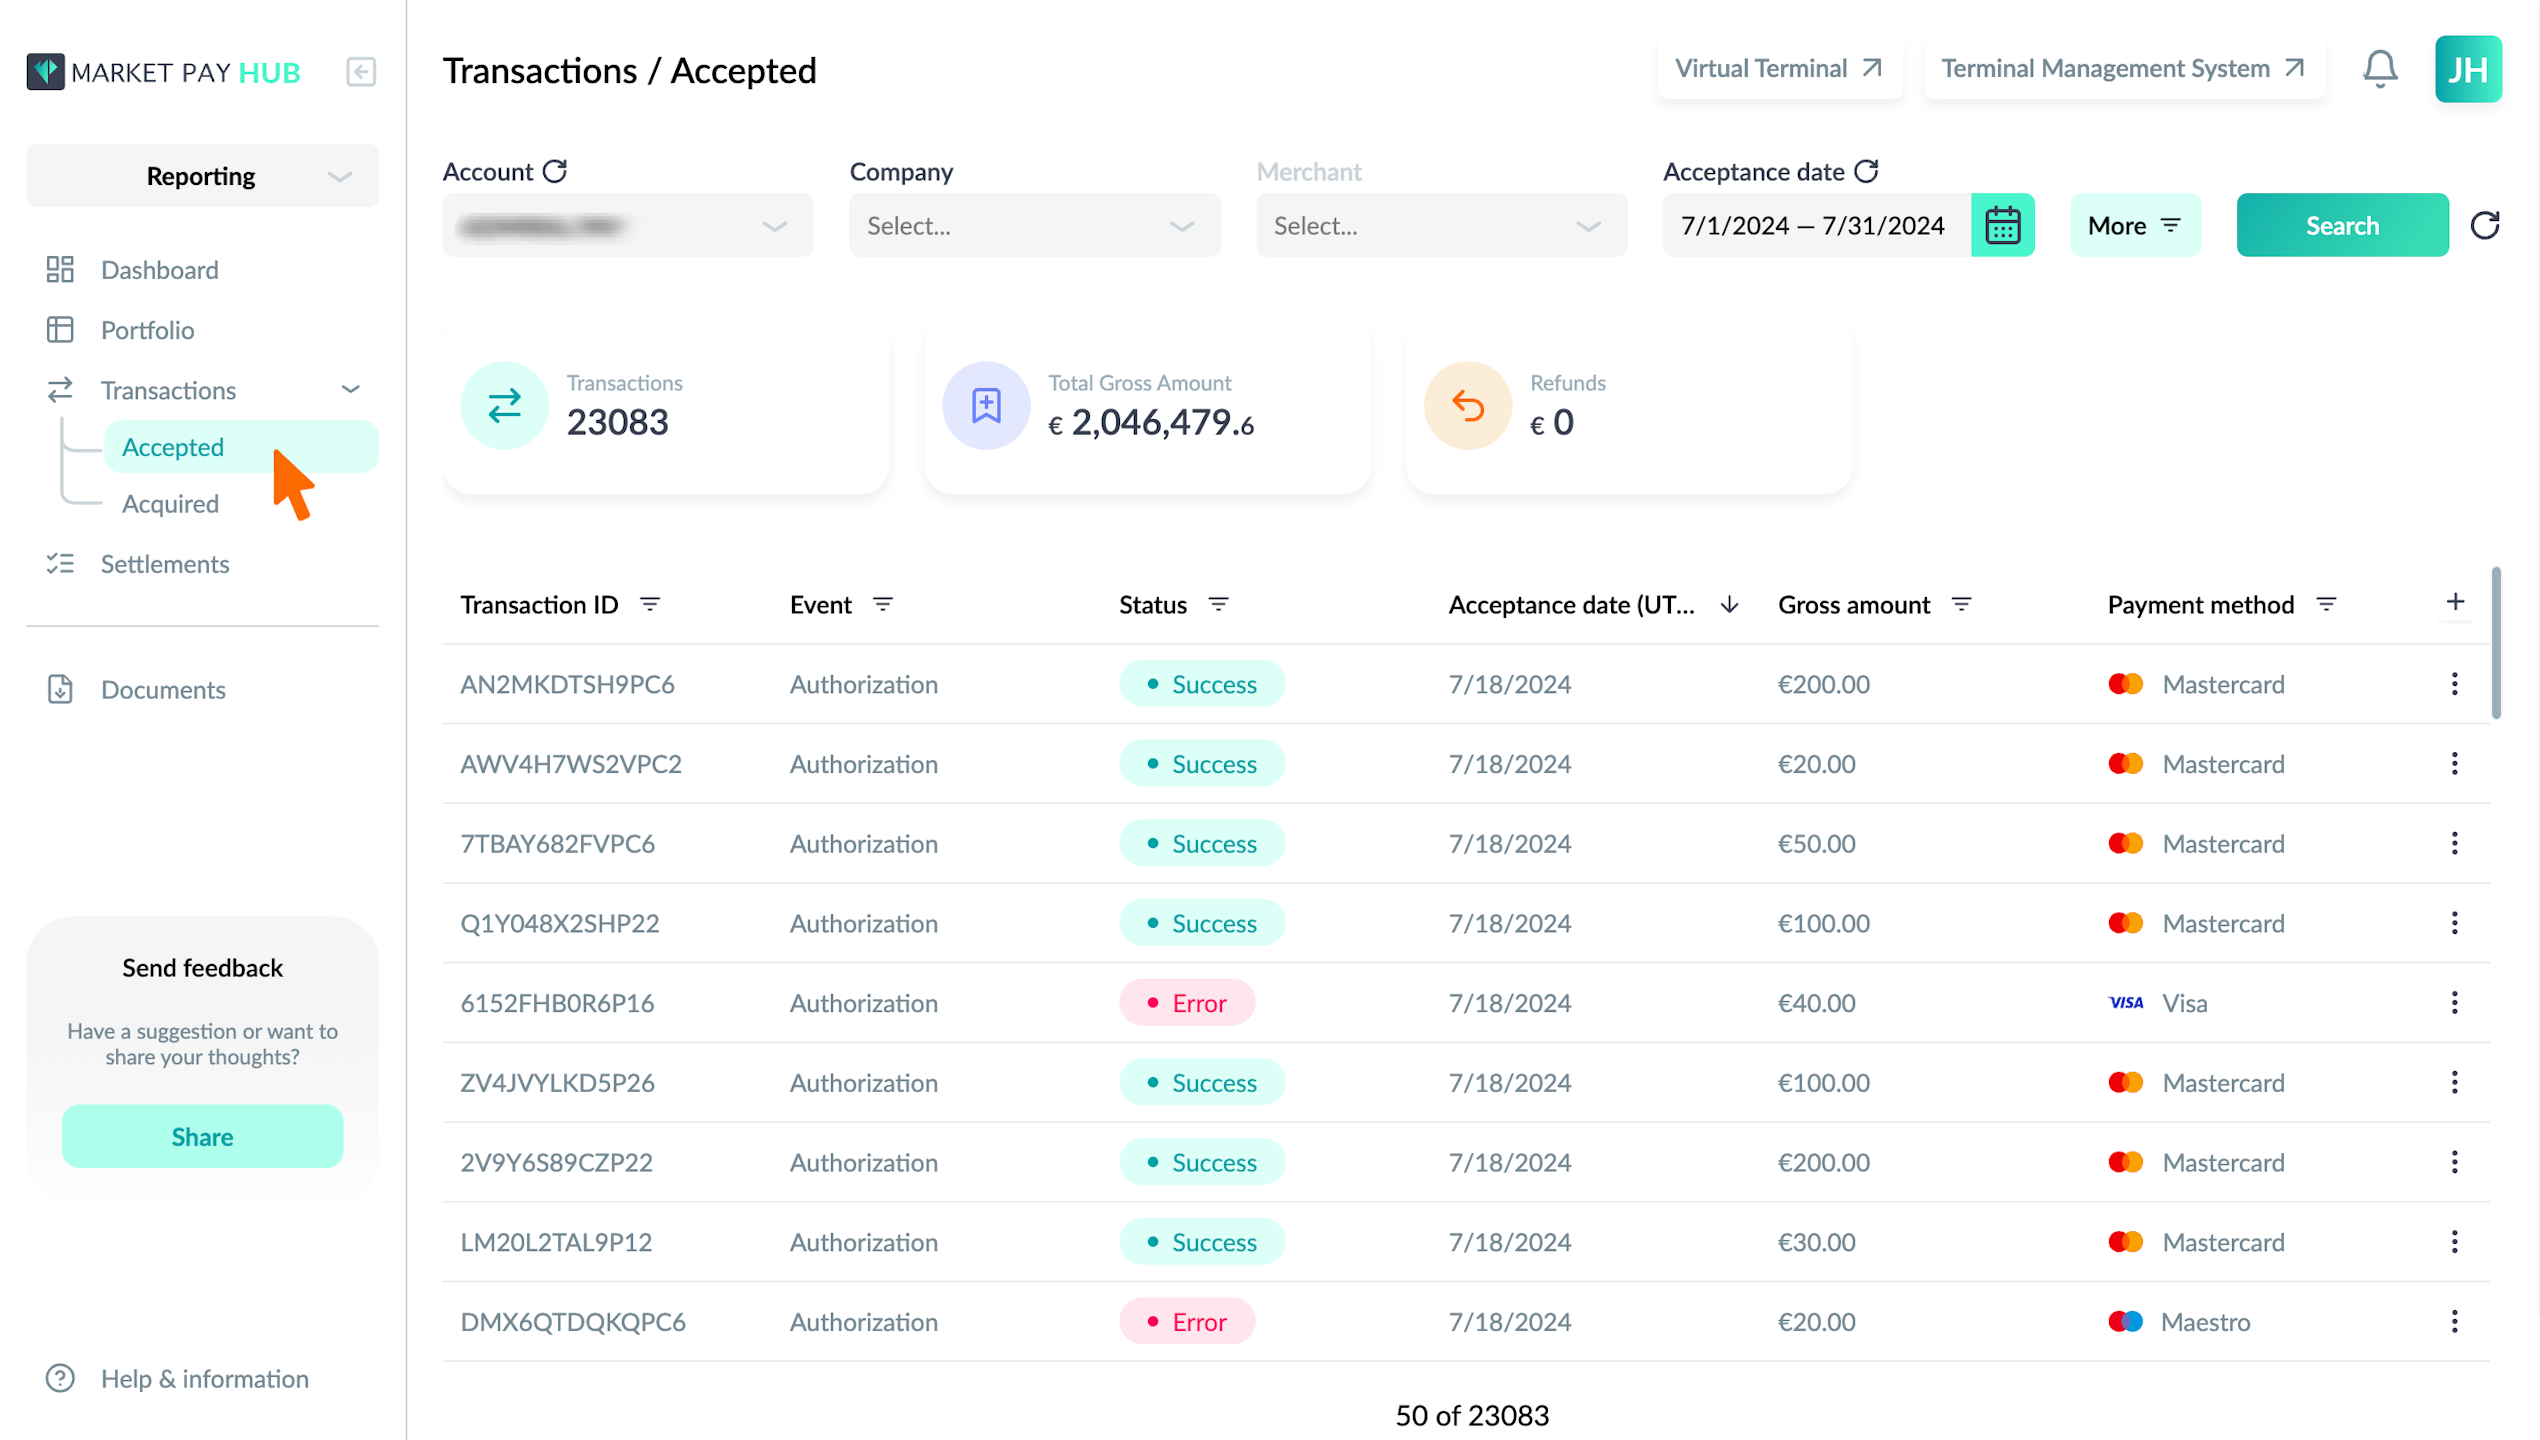
View a List of Accepted Transactions
Upon accessing the “Accepted” page, you will see a table displaying all accepted transactions.
Each transaction includes key details such as Transaction ID, Event, Status, Acceptance Date, Gross Amount, and Payment Method.
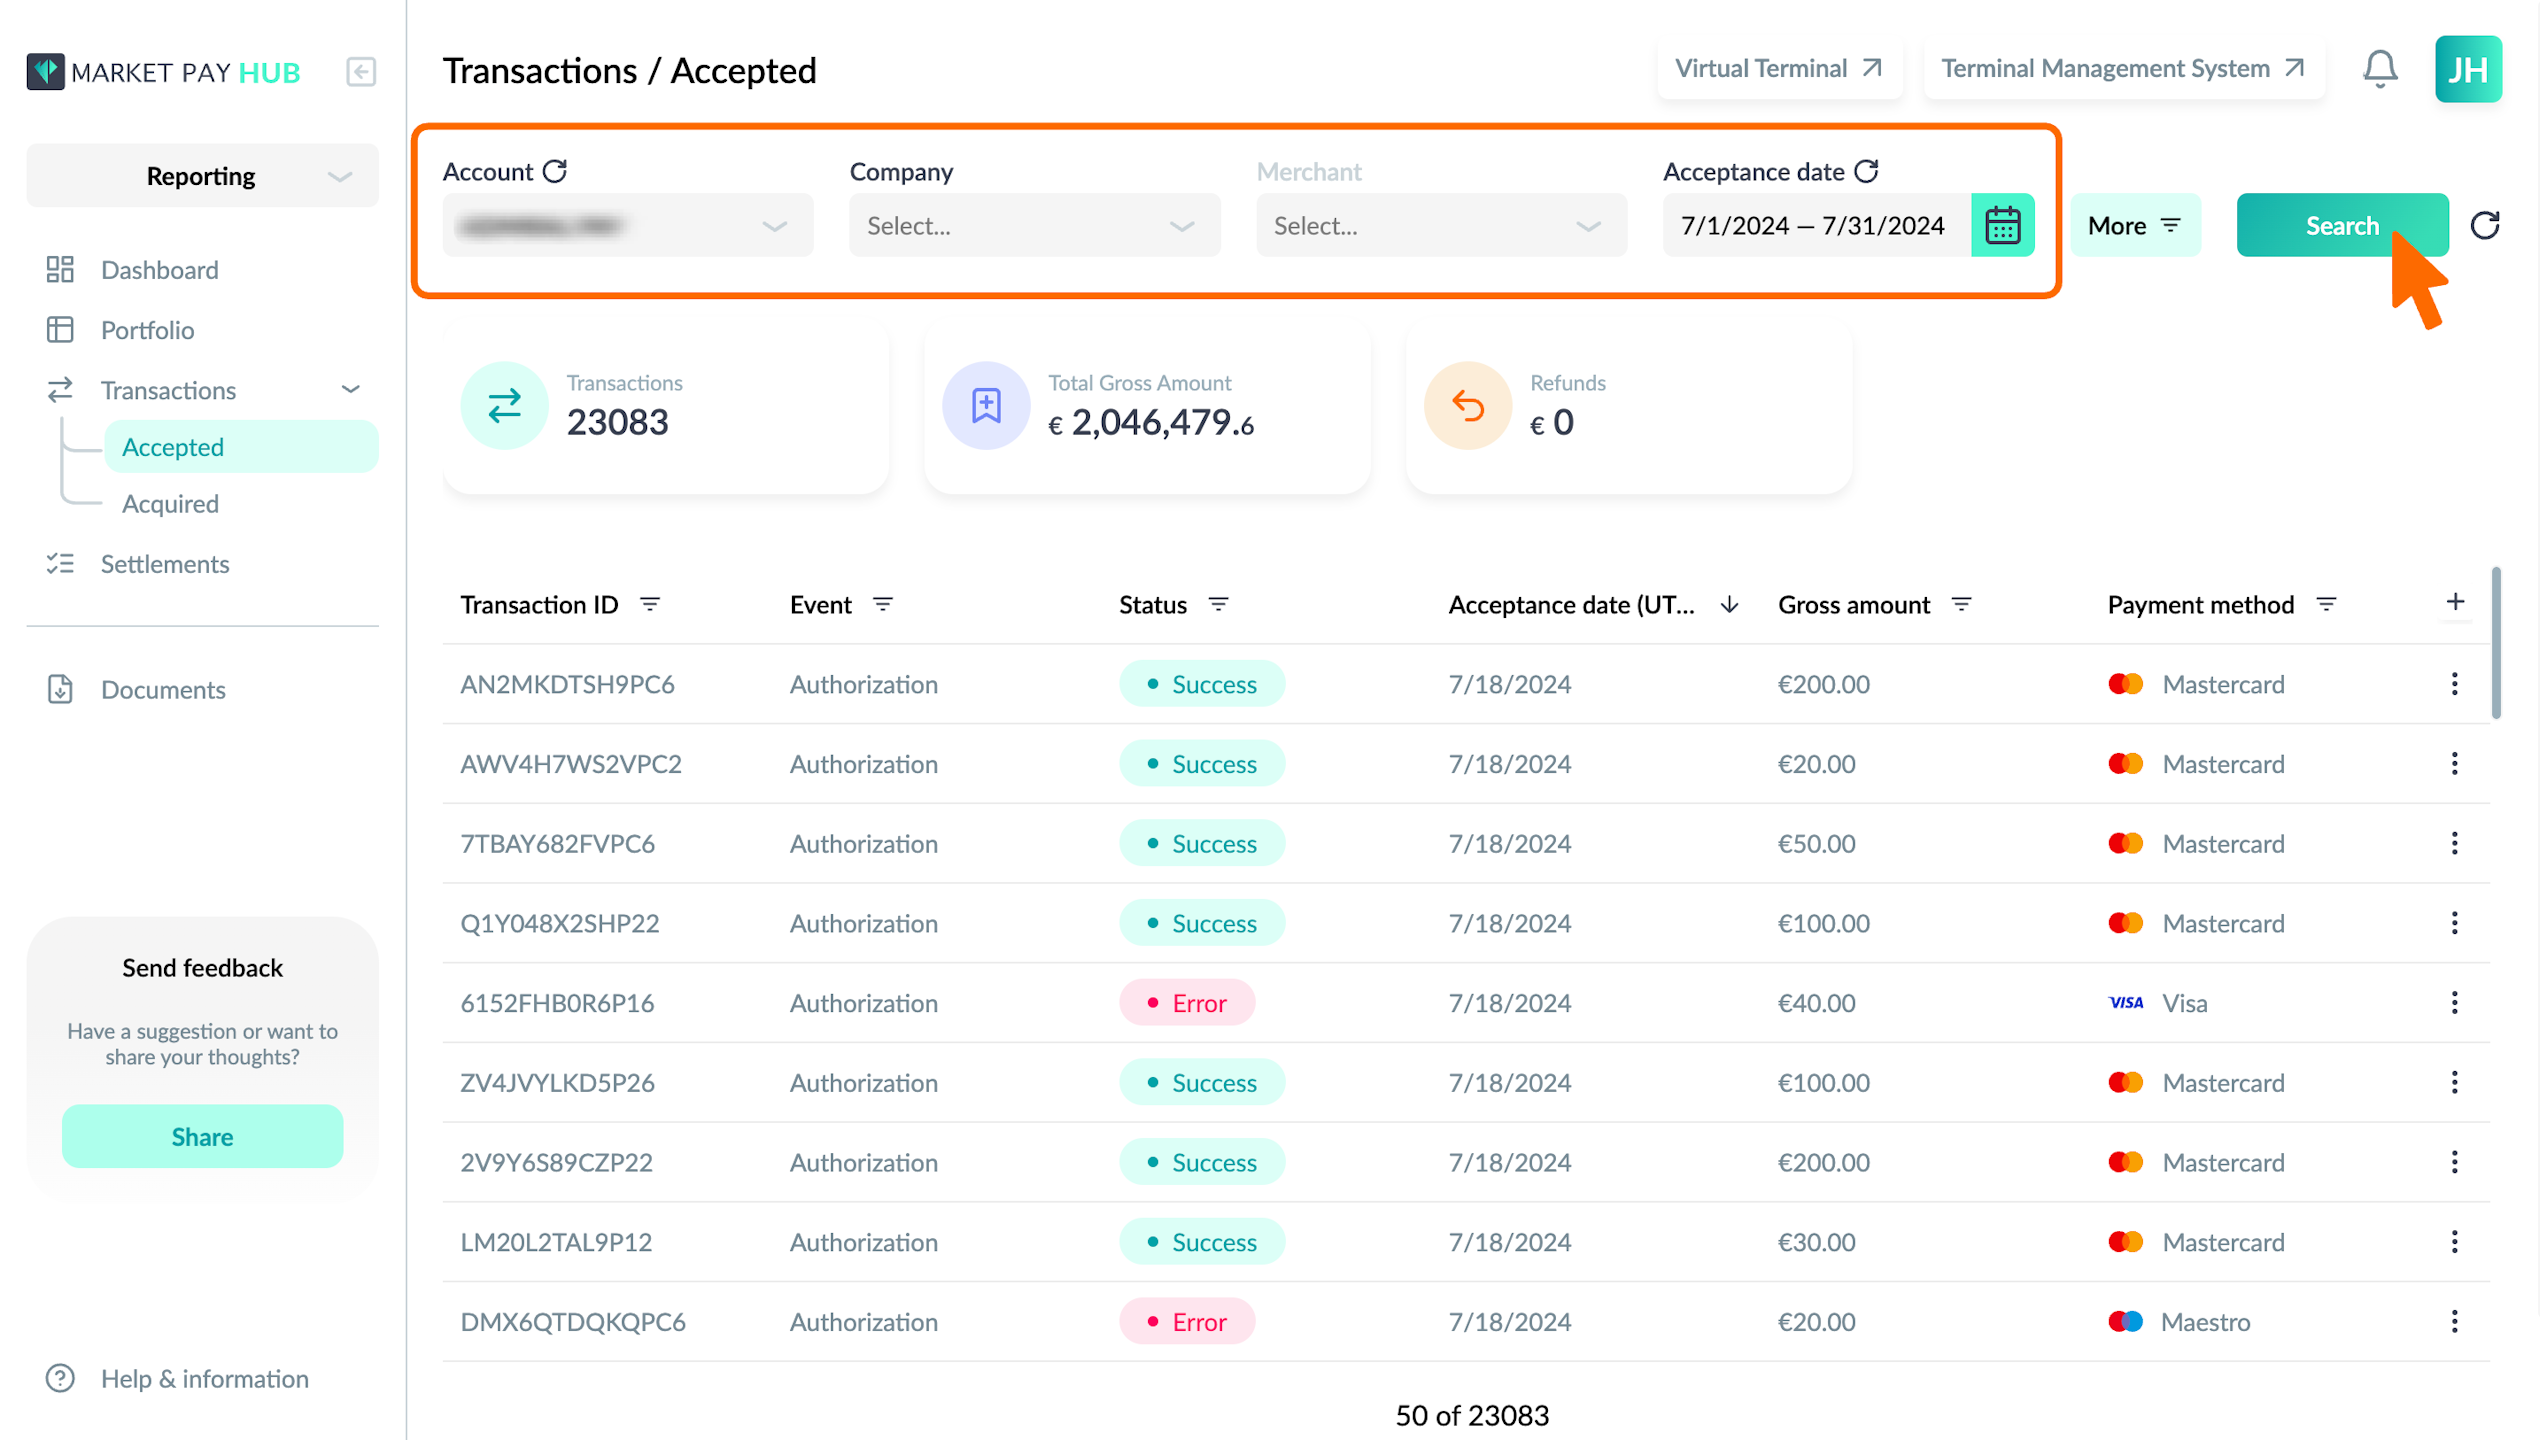
Apply Default Filters
By default, the page provides several filters to narrow down the list of transactions:
Account: Select the account to view transactions associated with it.
Company: Choose the company to filter transactions.
Merchant: Select the merchant for more specific filtering.
Acceptance Date: Set the date range to view transactions accepted within a specific period.
To apply these filters:
Click on the dropdown for the desired filter.
Select the appropriate option(s).
Click the “Search” button to apply the filters.
Apply Additional Filters
For more refined results, you can apply additional filters:
Transaction ID: Enter the specific transaction ID to find a particular transaction.
Order Number: Filter by order number.
Event: Select the type of event (e.g., Capture, Authorization).
Status: Choose the status of the transaction (e.g., Success, Failed).
Payment Solution: Select the payment solution used.
Payment Method: Choose the method of payment (e.g., Visa, Mastercard).
Payment Type: Select the type of payment used.
Checkout Type: Choose the checkout type.
Gross Amount: Enter a minimum and maximum amount to filter transactions within a specific range (decimals allowed).
Collection Type: Select the type of collection.
Service Type: Choose the service type.
BIN: Enter the Bank Identification Number.
Scheme: Select the payment scheme.
Settlement Status: Choose the status of the settlement.
Settlement Date: Set the date range for settlement.
Settlement ID: Enter the specific settlement ID.
POS ID: Enter the Point of Sale identifier.
To apply additional filters:
Click on the “More” button to expand the filter options.
Enter or select the desired filter criteria.
Click the “Search” button to apply the filters.

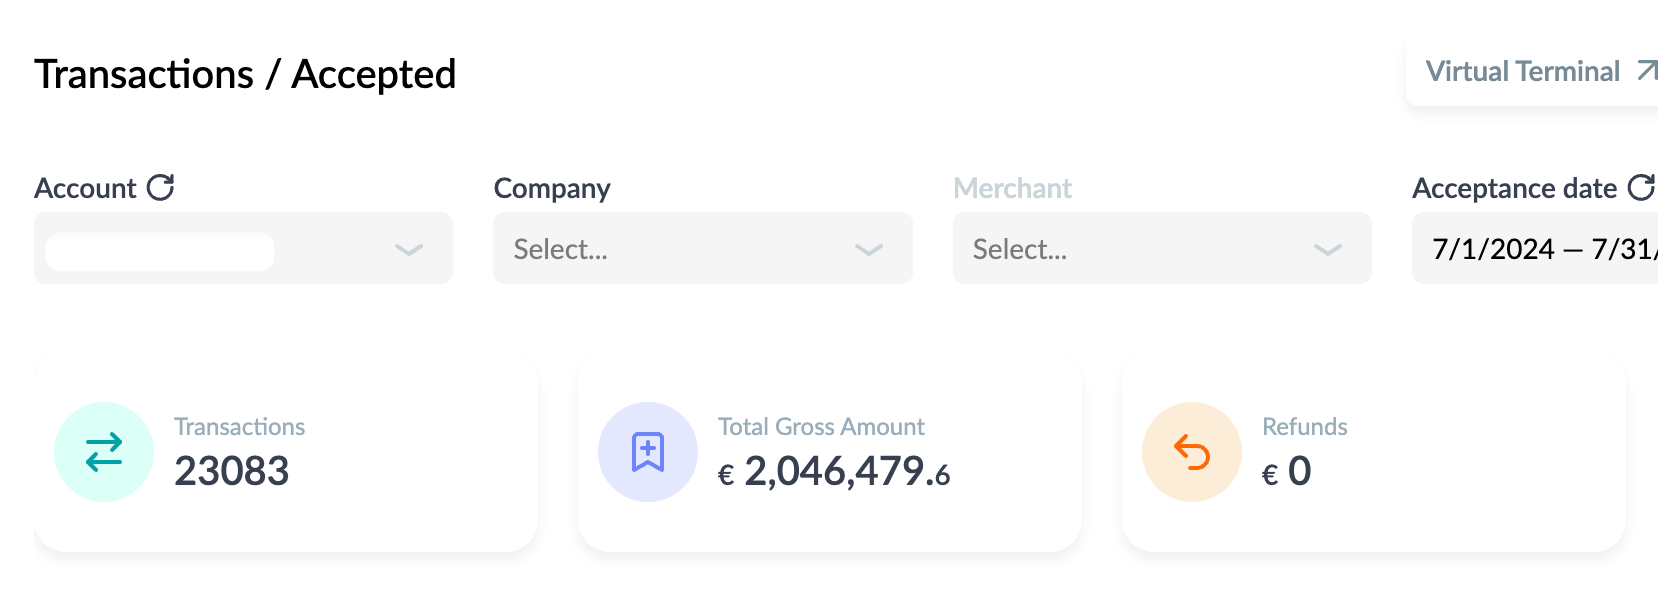
View Key Numbers
Above the transactions table, key numbers are displayed to give a summary:
Transactions: Total number of accepted transactions.
Total Gross Amount: Sum of the gross amounts for all accepted transactions.
Refunds: Total amount of refunds processed.
These figures update dynamically based on the applied filters.
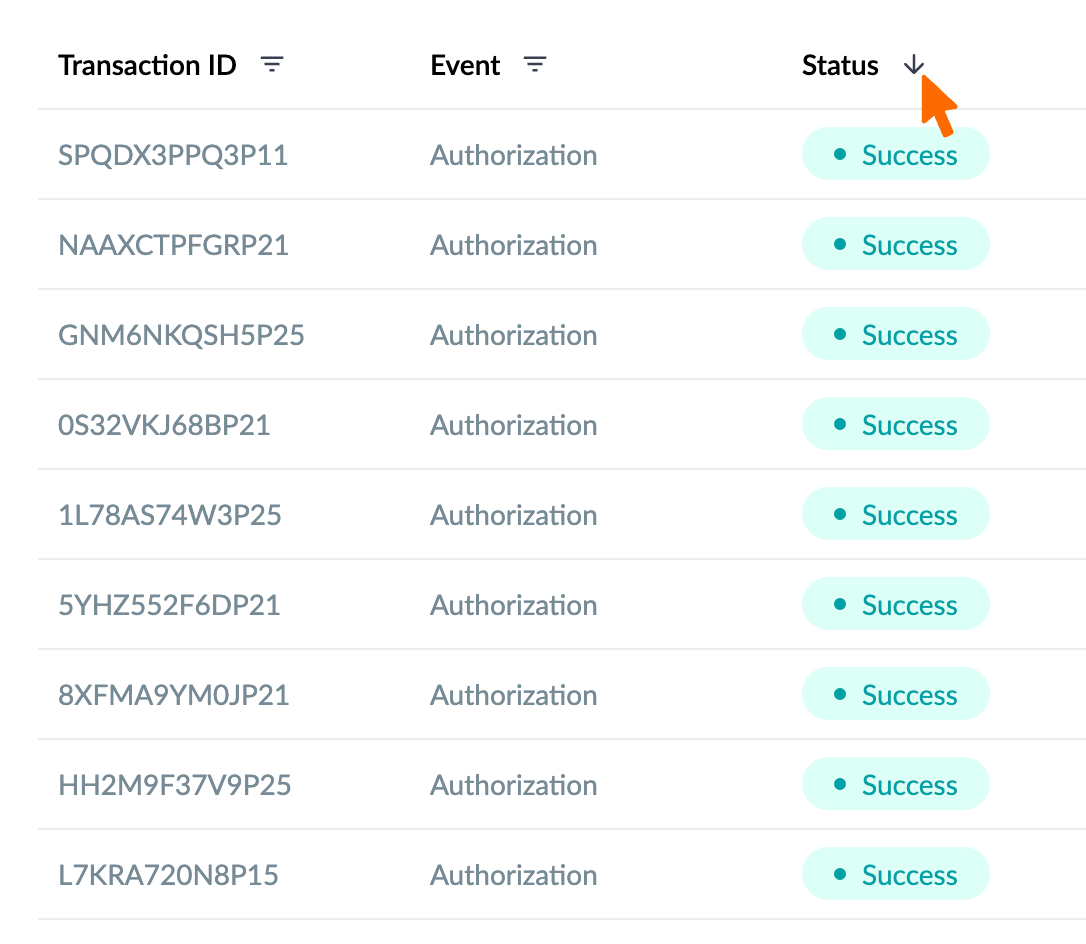
Sort Columns
To sort the transactions by any column:
Click on the column header (e.g., Transaction ID, Event, Status).
The table will sort in ascending or descending order based on the selected column.
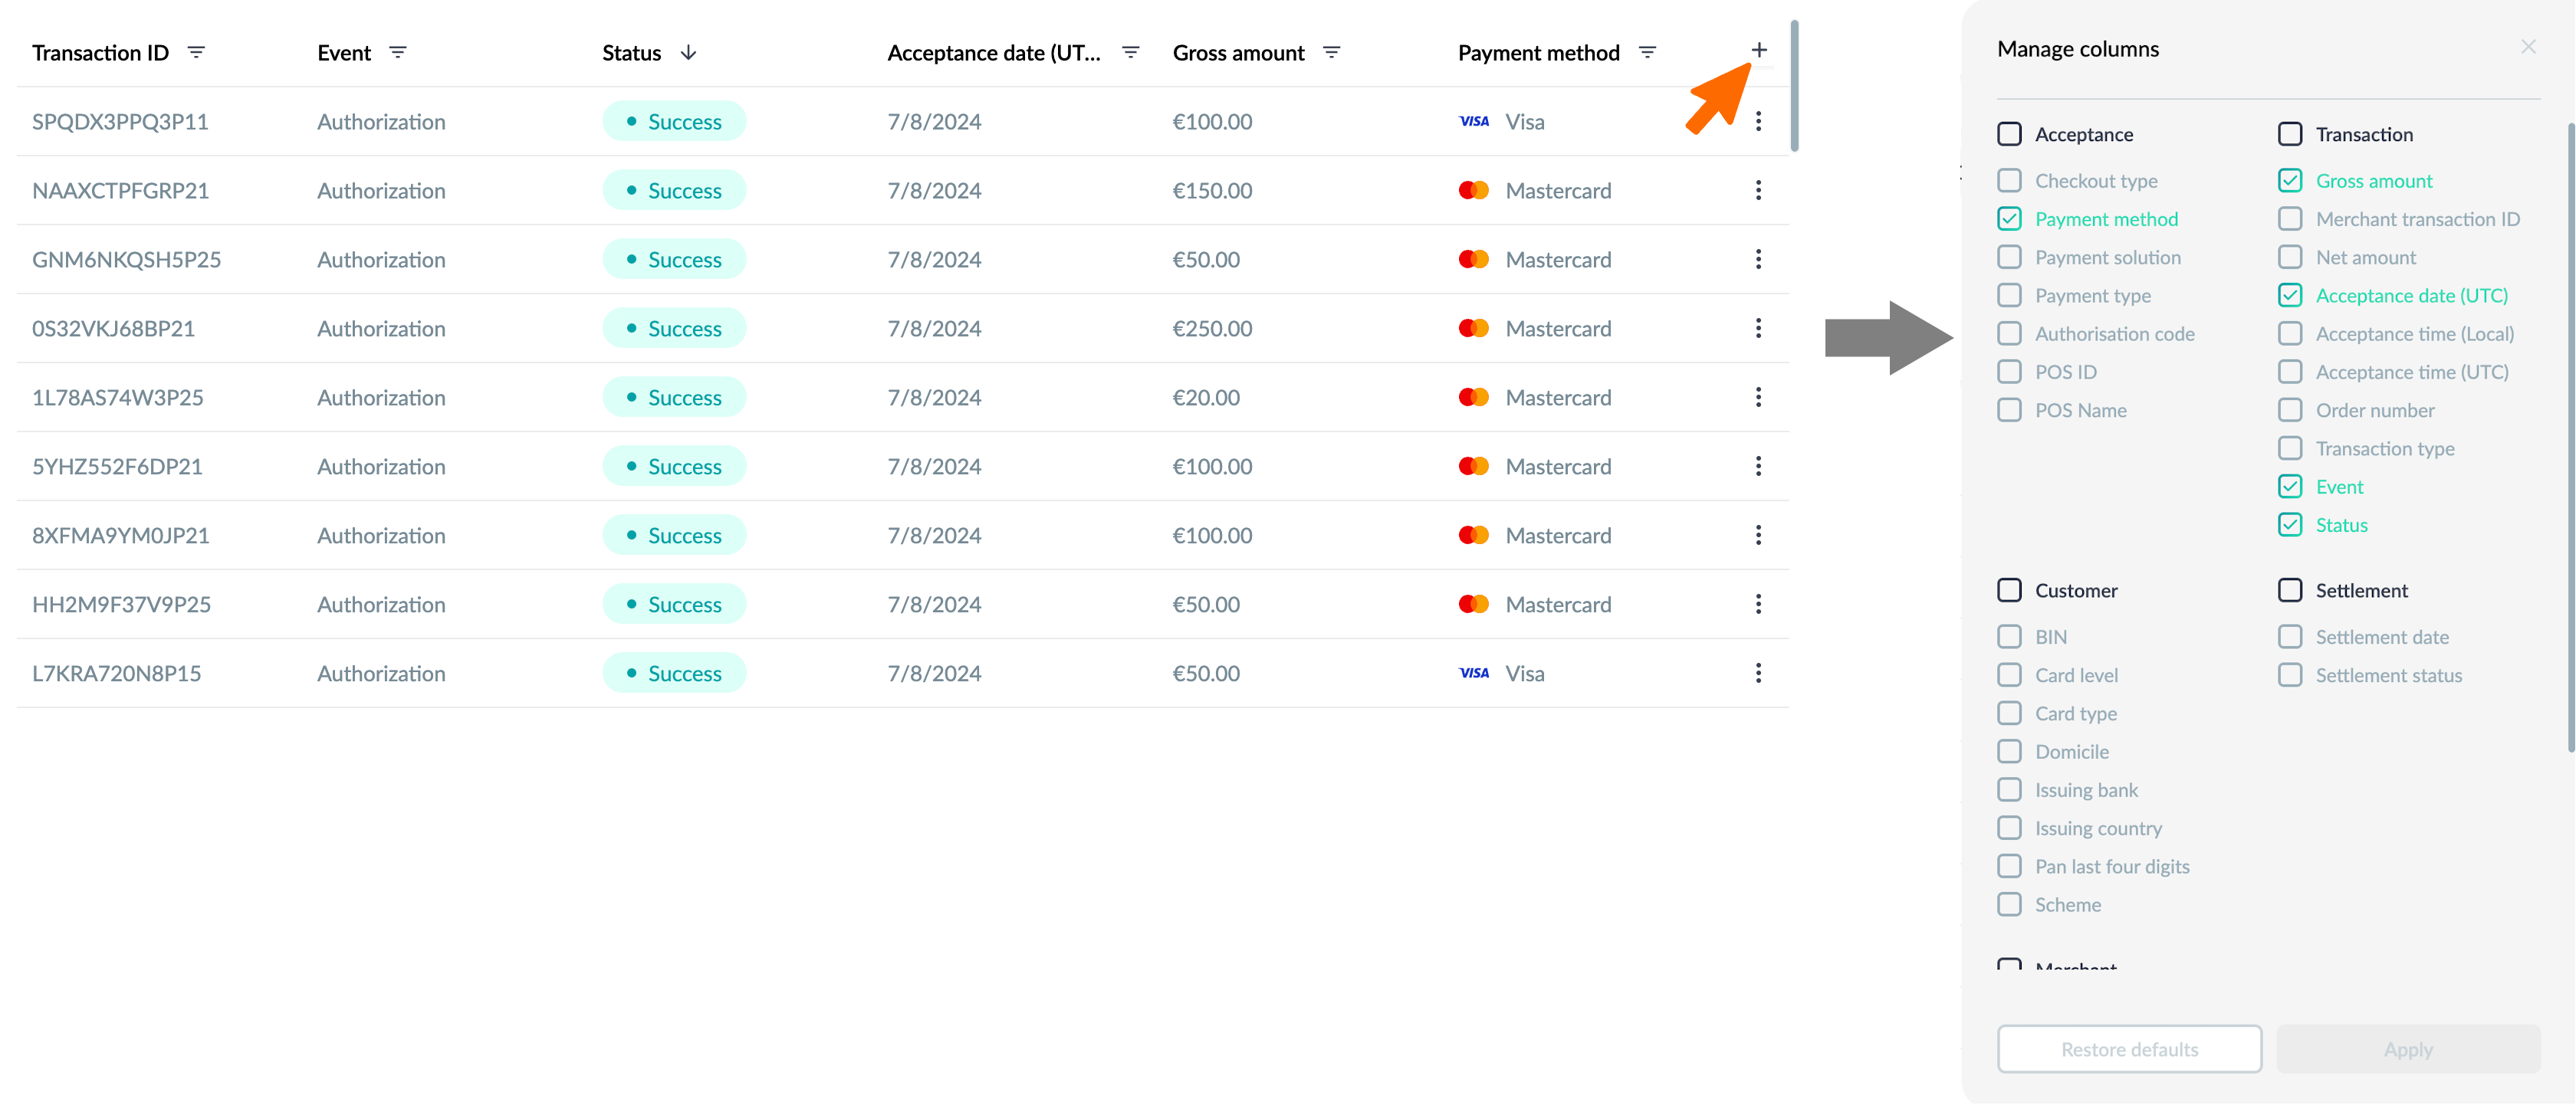
Manage Displayed Columns
Customize which columns are displayed in the table:
Click on the “+” icon at the top right of the table to open the "Manage columns" panel.
Check or uncheck the columns you want to display or hide.
Click “Apply” to update the table view.
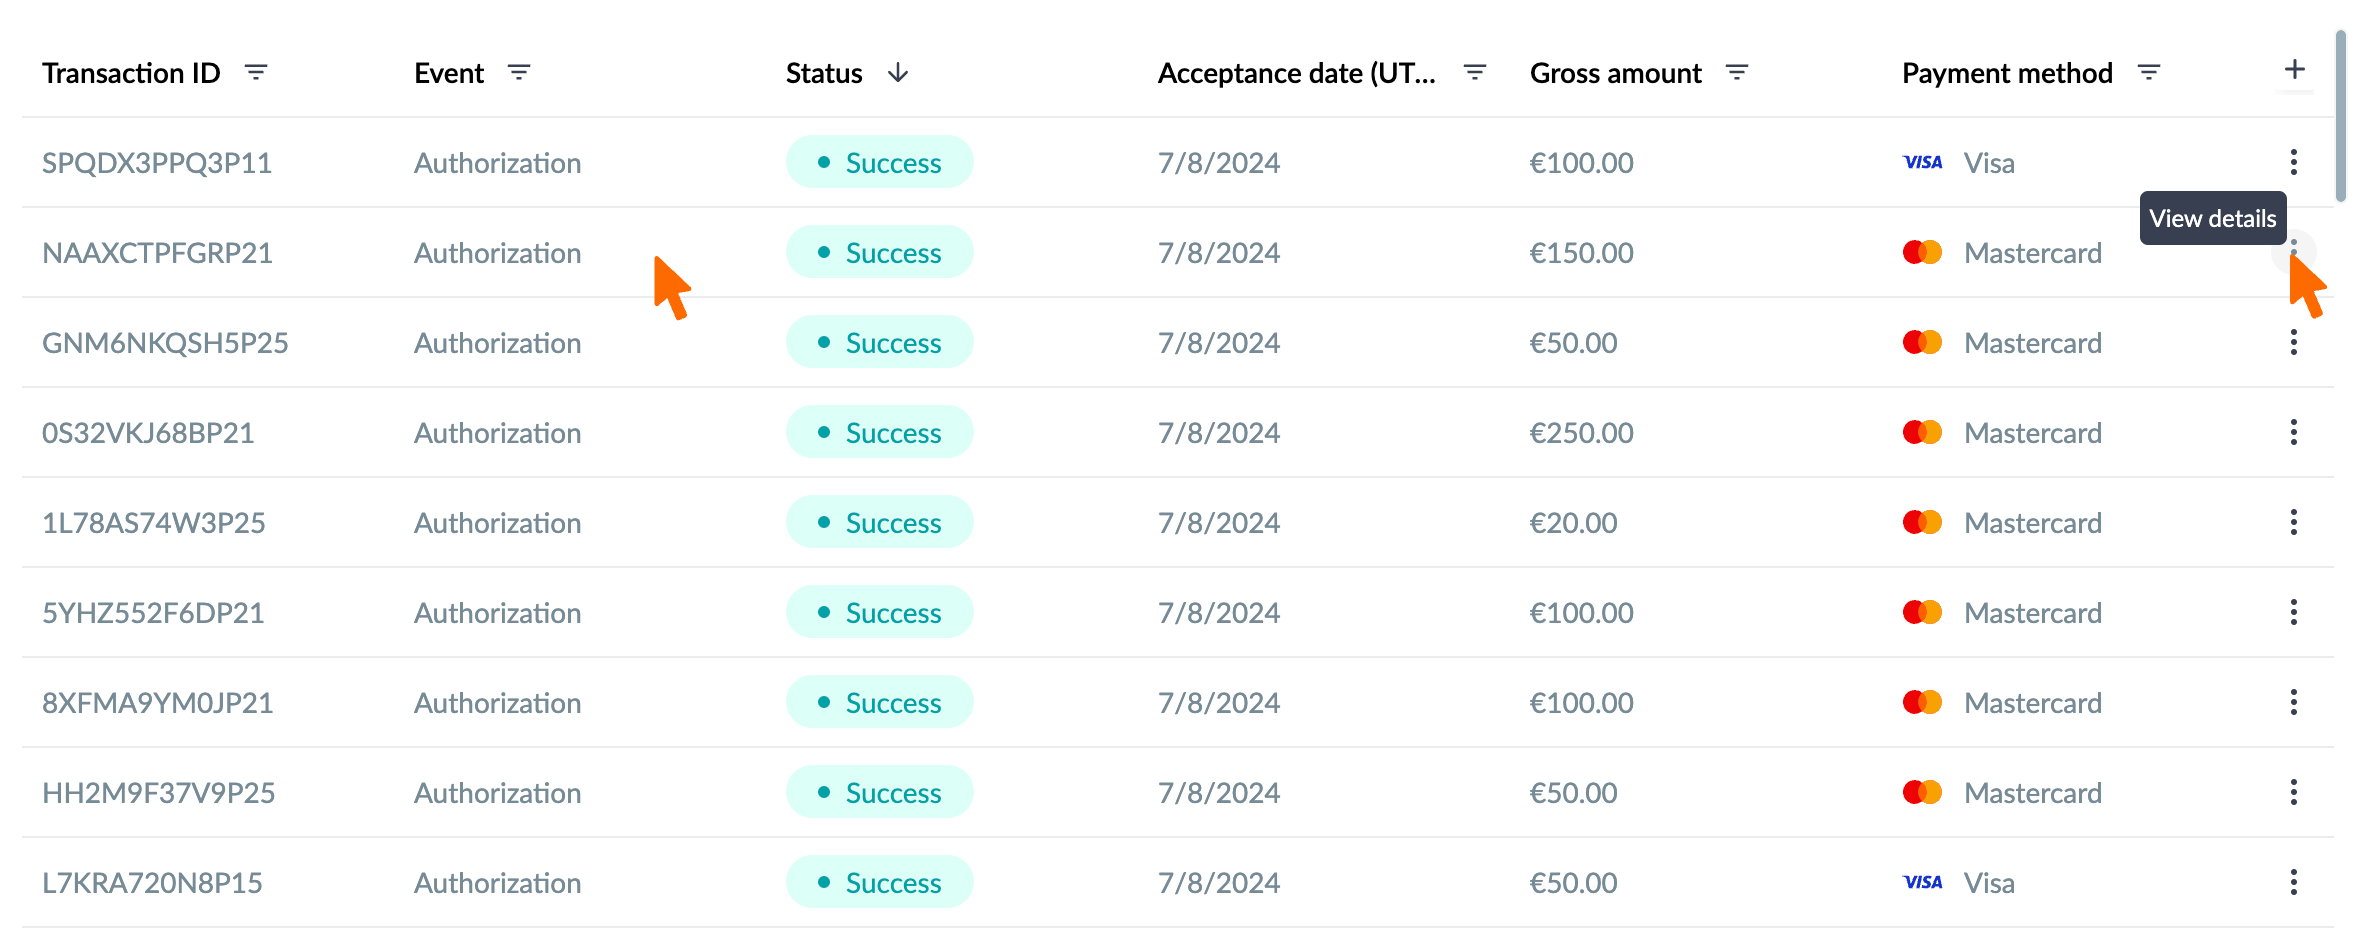
Open Accepted Transaction Details Panel
To view detailed information about a specific transaction, you can open the transaction details panel using either of the following methods:
Method 1: Click on a Row
Simply click anywhere on the row of the transaction you want to view details for. The transaction details panel will open on the right side of the screen, displaying all relevant details about the selected transaction.
Method 2: Click on the Three Dots
Hover over the row of the transaction you want to view details for and click on the three dots icon that appears at the end of the row.
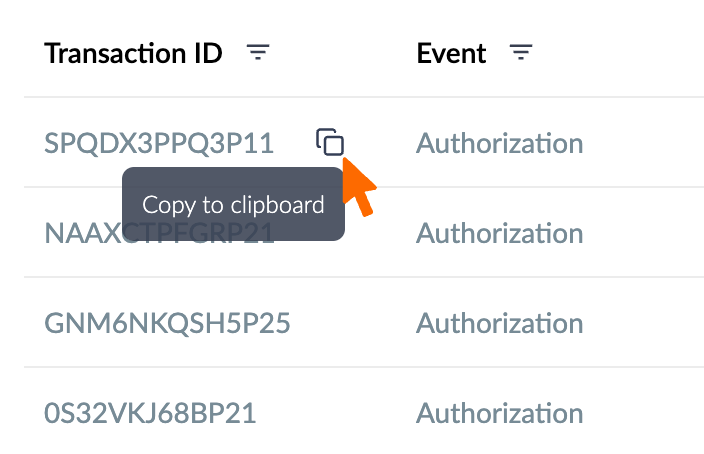
Copy Transaction ID
To copy a Transaction ID from the table:
Hover over the value you want to copy.
Click on the “Copy” icon that appears next to the value.
The value is copied to your clipboard for easy pasting elsewhere.
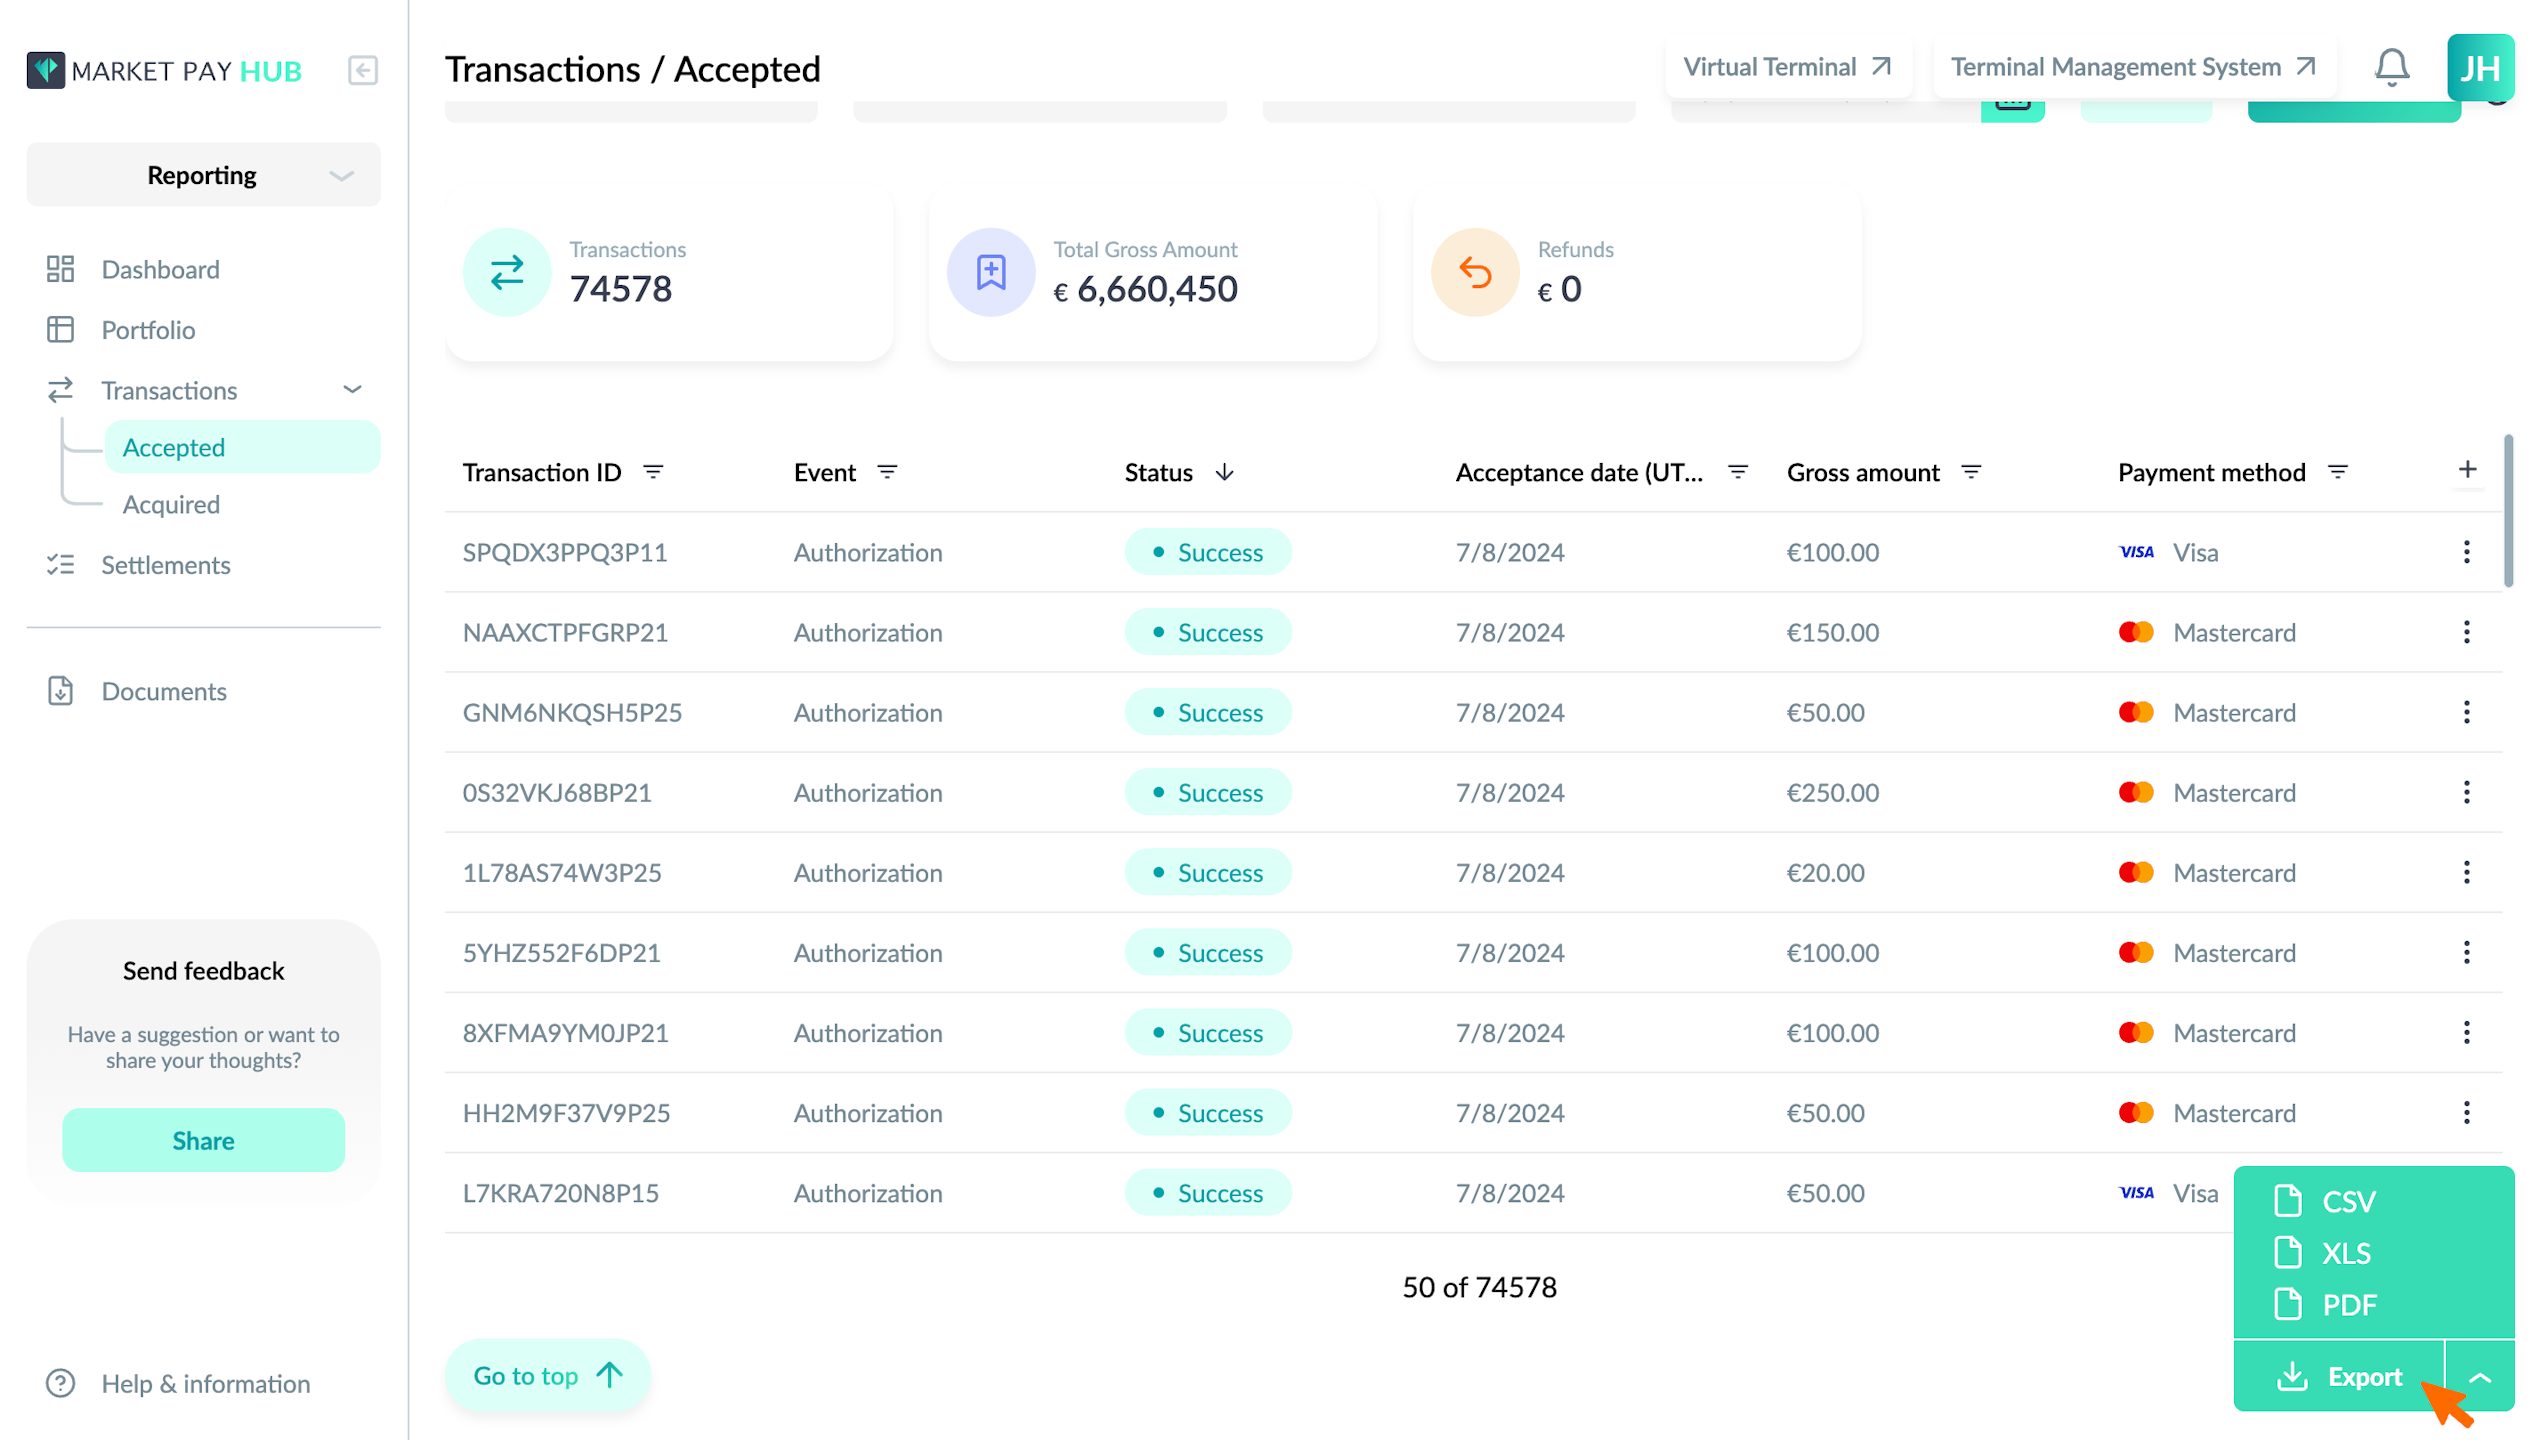
Export Accepted Transactions
Export the list of accepted transactions for reporting purposes:
Click on the “Export” button located at the bottom right of the table.
Choose the desired file format (CSV, XLS, PDF).
The file will be downloaded to your device.